 The procedure outlined here cannot be carried out over the network. The Network hasp dongle must be plugged into the local computer.
Hasp security, based on the Network Hasp dongle, might need to be updated if you purchase additional user or module licences.
The procedure outlined here cannot be carried out over the network. The Network hasp dongle must be plugged into the local computer.
Exit AllyCAD if it is already running.
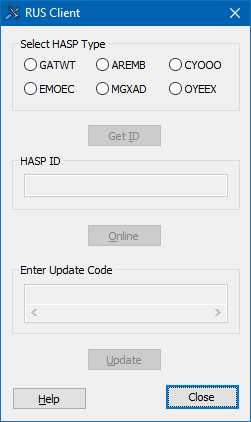
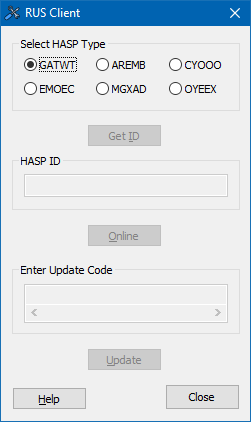
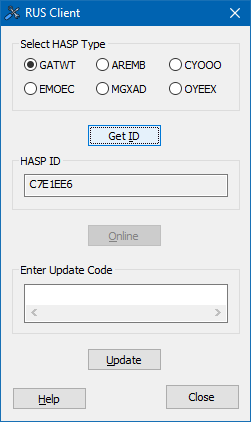
You now need to send that HASP ID value (your own, the above value if for illustrative purposes only) to our support department in order for them to generate the required update code for you. You can phone, fax or email the ID using the contact details provided. Please note that if you use fax or email you will need to let us know the company name and dongle serial number (found via the About dialog) so we can locate the correct customer records.
If you send your ID code via fax or email you can close this dialog until you receive the update code(s). When you receive the code(s) simply go through this procedure again until the point at which the HASP ID value is displayed. You can then continue with the entry of the update code(s).