Icon
Command
Shortcut Key
Toolbar

LIGHTS
Settings
Manage the lights used in 3D rendering.
|
Icon |
Command |
Shortcut Key |
Toolbar |
|
|
LIGHTS |
|
Settings |
This function allows you to set up the rendering lights using the Light Manager. You can add lights of various types at various positions relative to the model.
 The lights are not affected when you zoom in or use the demagnify function. They remain the same size on the drawing screen.
Procedure
The Lights Manager displays.
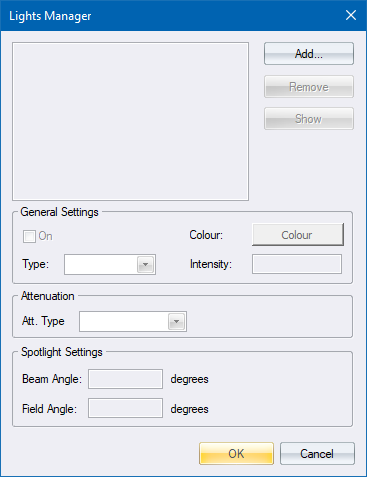
To create a new light:
Click Add.
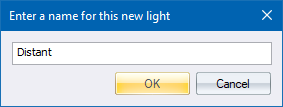
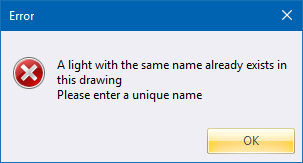
The new name is verified for uniqueness. If the name is already in use, the following error displays. Click OK and re-enter a new name.
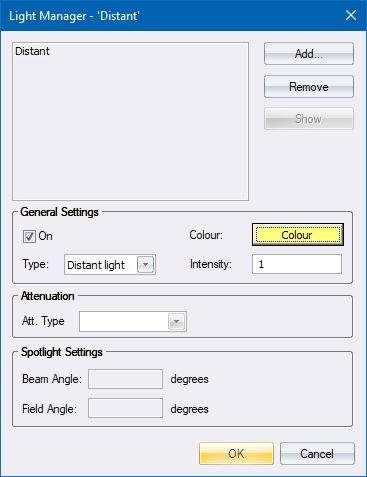
You can configure the settings for an existing light.
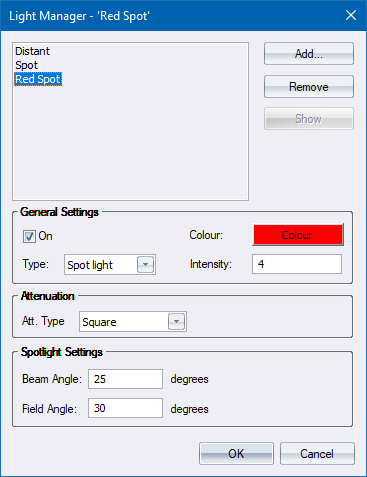
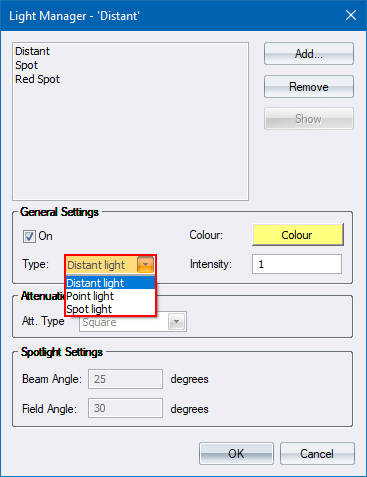
The Distant option only operates with the None Attenuation type. All the options are available when using the Point and Spot light options.
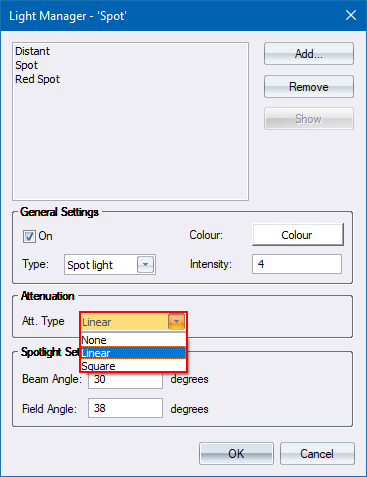
To remove a light:
Select the light and click Remove.
The light is removed from the lights list.
To show a light:
Select the light and click On.
Click OK.
The light is centred in the drawing area.
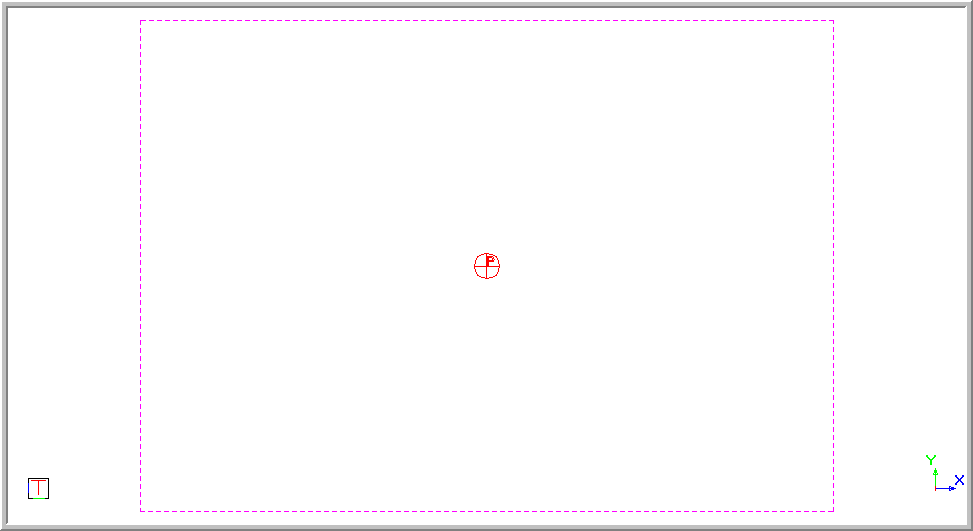
To add the light to the drawing:
Click OK. The light is added to the drawing and is indicated by a circle with a cross through it. A letter is placed in the circle to indicate if the light is a Distant, Point or Spot light.
The light can be moved. Click the light to select it and then drag it to the required position.
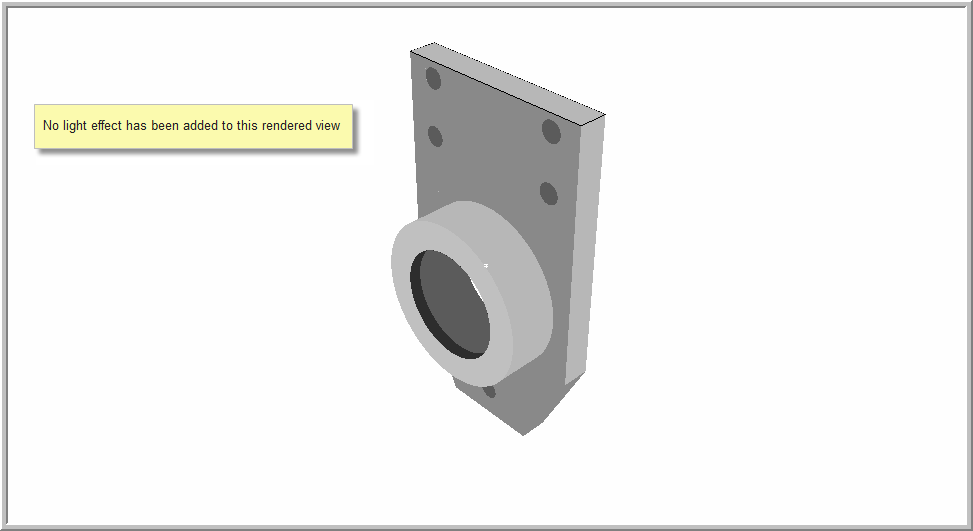
The light is displayed in the drawing below, but does not have any effect.
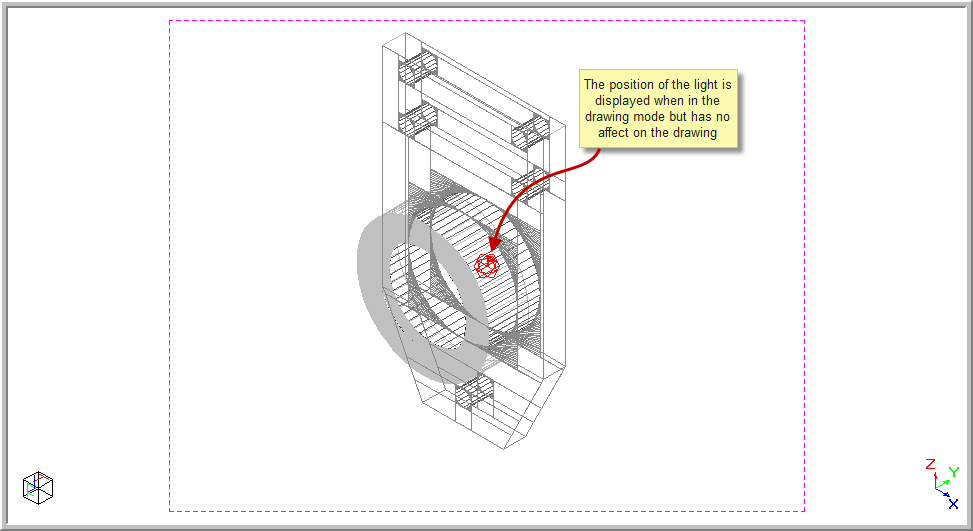
When the drawing is rendered, the lights are implemented.
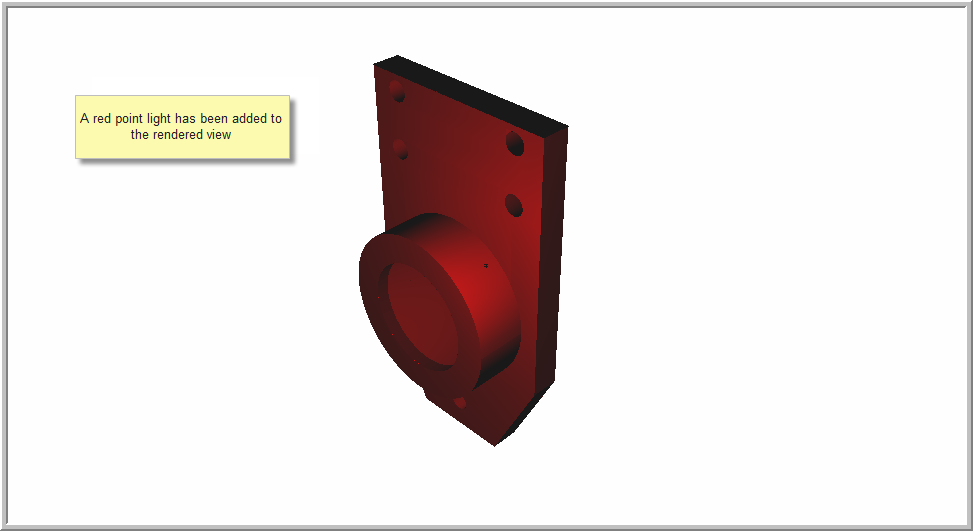
The light can be disabled if required.