Icon
Command
Shortcut Key
Toolbar

INSERTTABLE
Insert
Insert a table entity into the drawing.
|
Icon |
Command |
Shortcut Key |
Toolbar |
|
|
INSERTTABLE |
|
Insert |
This function allows you to add a table to the drawing by selecting a table style, the number of columns and rows and indicating the position of the table.
The table is generated using the current table style, so be sure to set the desired table style before starting this function.
 To edit an existing table, select it, view it's properties, and then click Edit Table to edit the data in the table.
Procedure
Inserting a Table

The Table Insert options display in the Control Bar.
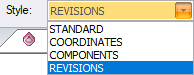
You can select a new table style from the dropdown list. Alternatively, click to open the Table Style Editor.
You can change the number of rows and columns as required.

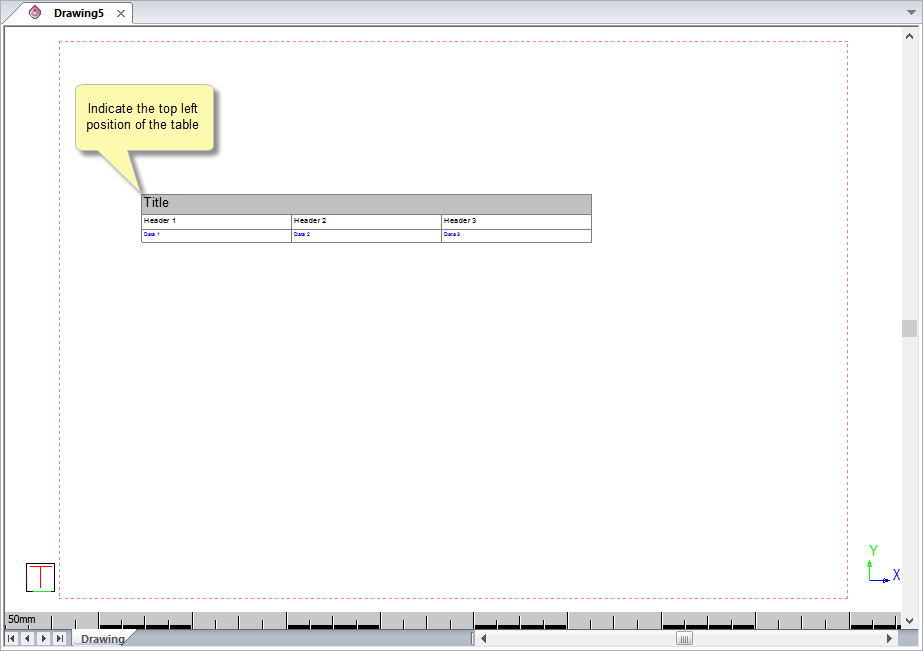
The table displays and you can move it into position using the mouse.
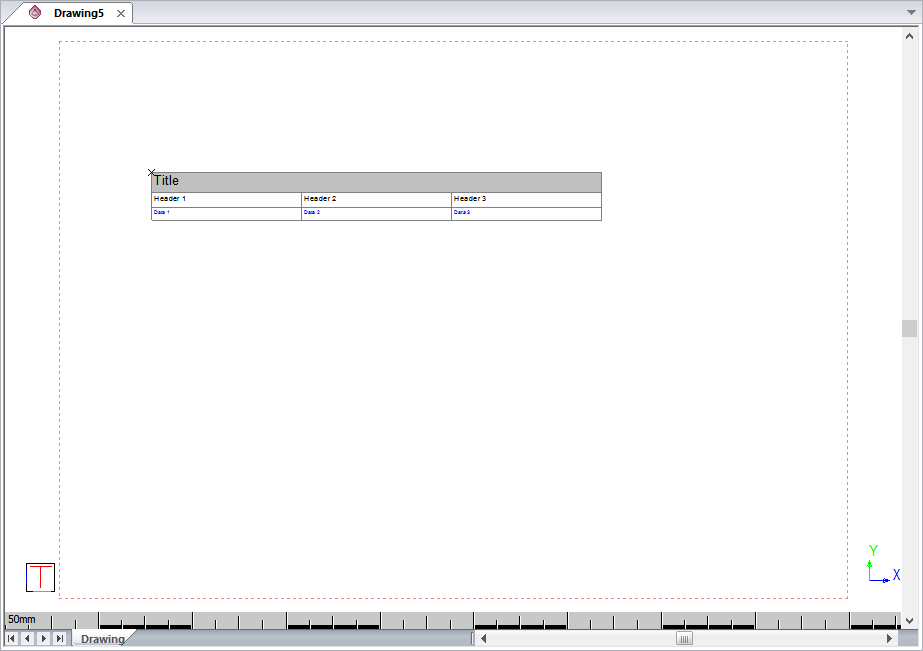
Press [Enter] or click in the drawing to place the table.
The function repeats.
Editing a Table
To edit a table:
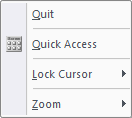
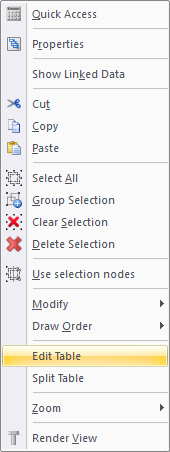
Select the table and then right-click in the drawing area. A menu displays.
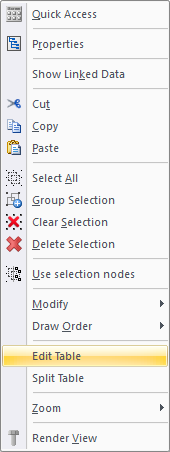
Select the Edit Table option to edit the data in the table.
The Edit Table Data displays, allowing you to make the required changes.
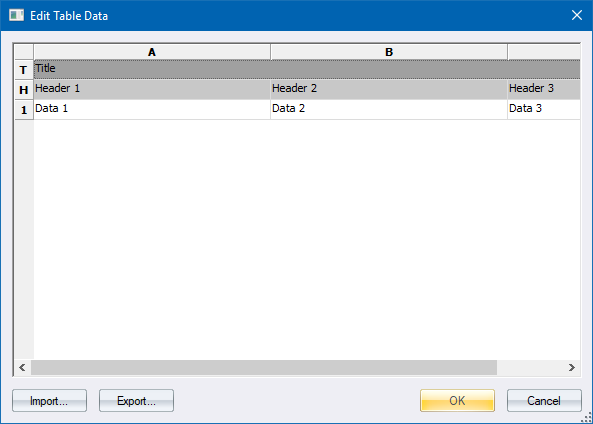
When your changes are complete, click OK.
Press [Esc] to deselect the table.
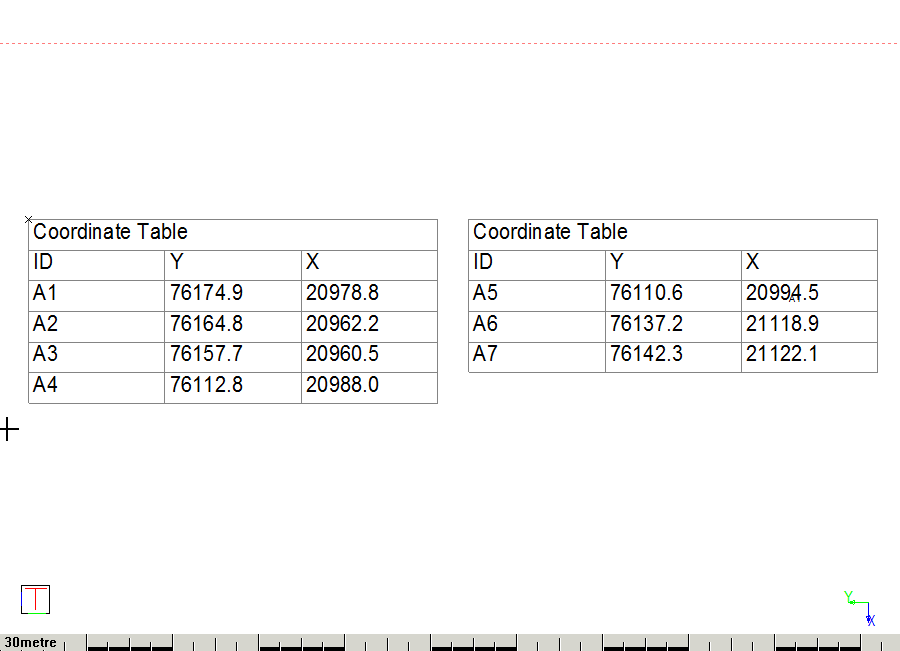
To split a table:
Select it and right-click. A menu displays.
Select the Split Table option.
You are prompted to:

Type in the required number of rows per table and press [Enter].
The table is split as specified.
You can use the Table Editor to create merged cells, also known as joined cells, in a table.
AllyCAD supports merged cells when importing table data from an Excel spreadsheet.
To merge cells in a table:
Select the table entity whose cells you want to merge.
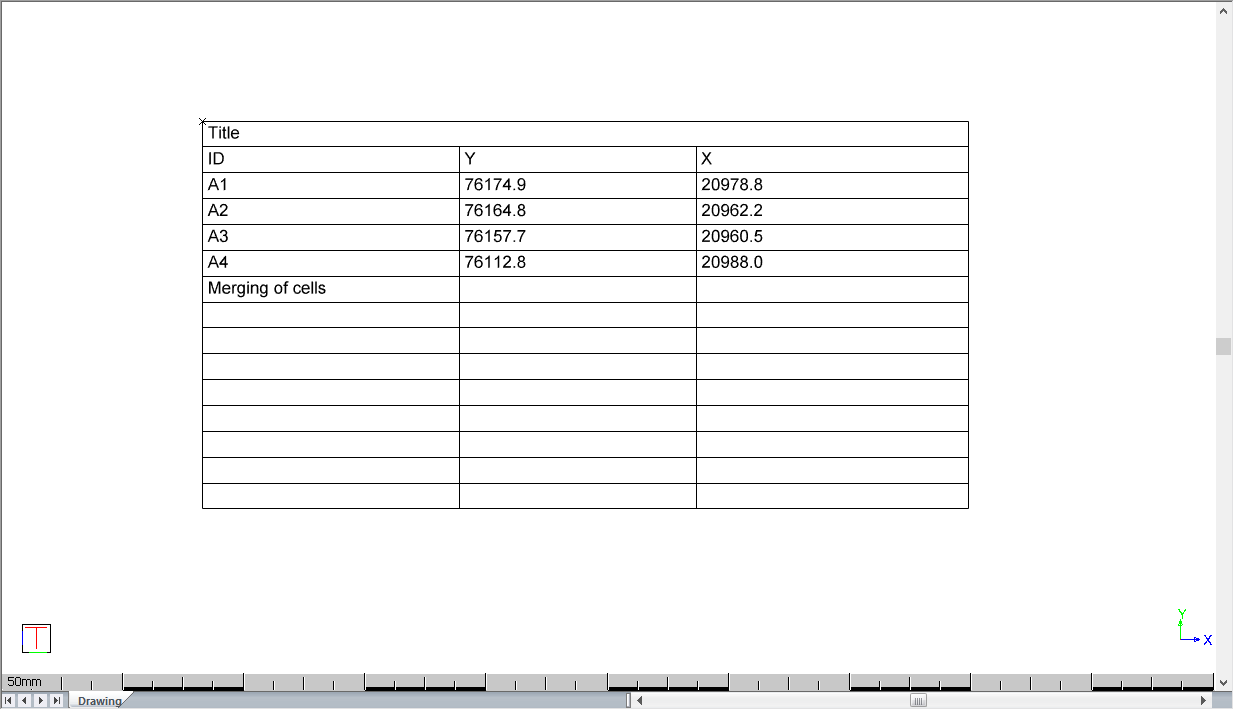
Right-click and select Edit Table from the popup context menu.
The Table Editor dialog shows a grid of the data in the table.
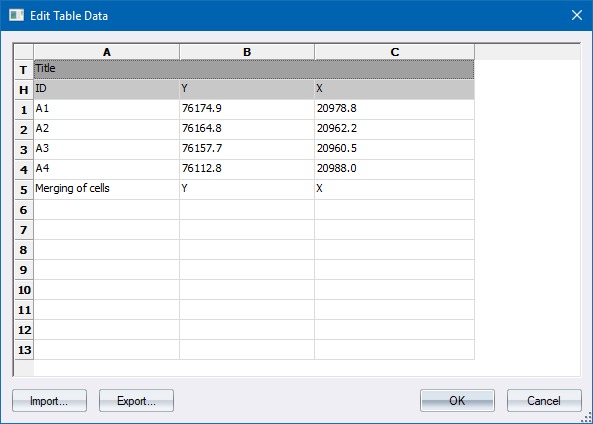
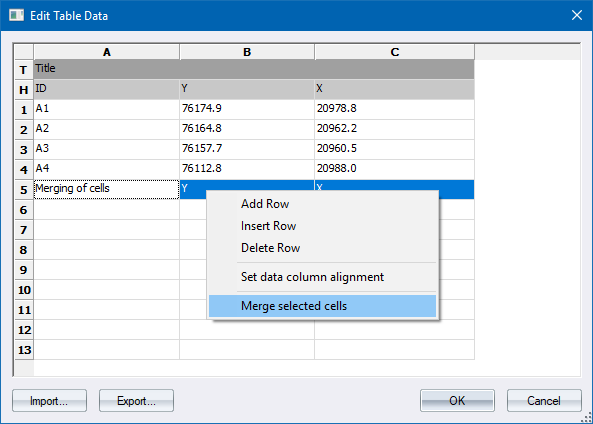
Select a block of cells by clicking on the first cell you want to merge, and then dragging to the last cell you want to merge.
Right-click and select Merge Selected Cells from the popup context menu.
The first cell in your selection enlarges to replace all the selected cells.
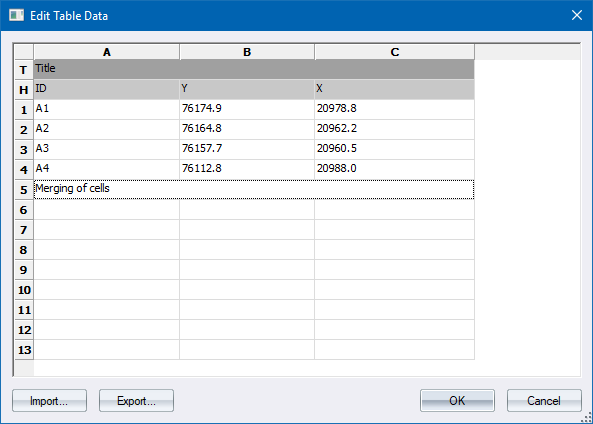
Click OK to save your changes to the table entity. The table entity displays the merged cell.
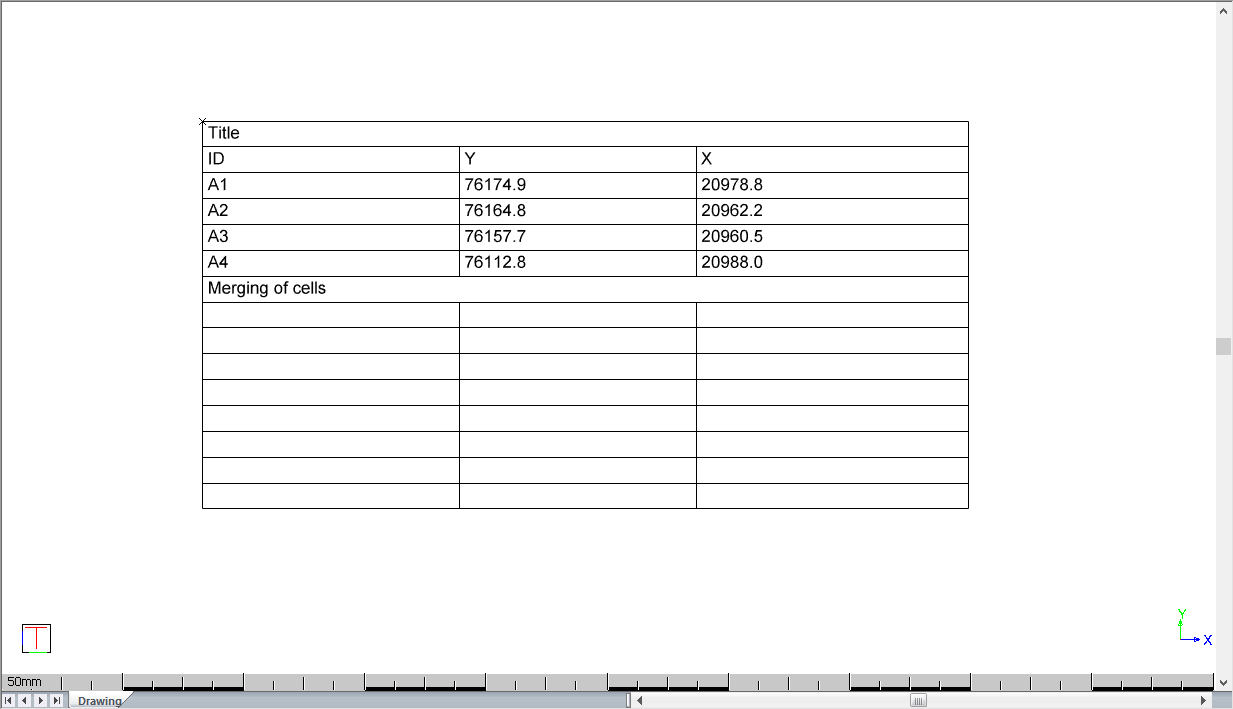
The cells that are replaced by the merged cell are not deleted and can be restored by unmerging the cell.
To unmerge a merged cell:
Select the table entity whose cells you want to unmerge.
Right-click and select Edit Table from the popup context menu.
The Table Editor dialog displays a grid of the data in the table.
Select the merged cell, right-click and select Unmerge selected cell(s) from the popup context menu.
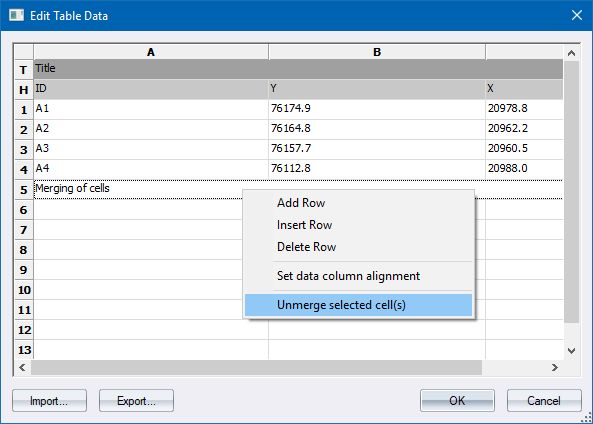
The cells that were originally merged become visible again.
Click OK to save your changes to the table entity. The table entity displays the unmerged cells.