Icon
Command
Shortcut Key
Toolbar

INSERTIMAGE
Insert
Insert an image into the drawing.
Icon |
Command |
Shortcut Key |
Toolbar |
|
INSERTIMAGE |
|
Insert |
This function allows you to add an image to your drawing at a specified position. The image can be rotated or scaled as required.
Most common image files are supported including JPG, BMP, TIF, SID and ECW. The image can be geo-referenced if a log file is supplied and the Coordinate system is set to Surveyor mode.
A TFW (TIF World) file is always in Northern hemisphere coordinates. For example:
0.25
0
0
0.25
60200.00
3769000.00
If you want to use the TFW file in the Southern Hemishere the Y coord should be negative because it is Eastern hemisphere, and the X coord should be negative because it is Southern hemisphere. The fourth line, the vertical pixel size, should also be negative to indicate that the given cords reference the top-left of the bitmap as there are almost no instances of images being placed bottom-left as that would imply an upside-down image (the sign of that line actually refers to the pixel order in the image). The TFW file for Southern Hemishere coordinates should read:
0.25
0
0
-0.25
-60200.00
-3769000.00
 If global image
visibility is switched off (see Visibility
Settings), global image visibility will be switched back on by this
function so you can see the image you are inserting.
If global image
visibility is switched off (see Visibility
Settings), global image visibility will be switched back on by this
function so you can see the image you are inserting.
Procedure
To insert an image into your drawing:
Select Insert ► Image or click the icon in the Insert toolbar.
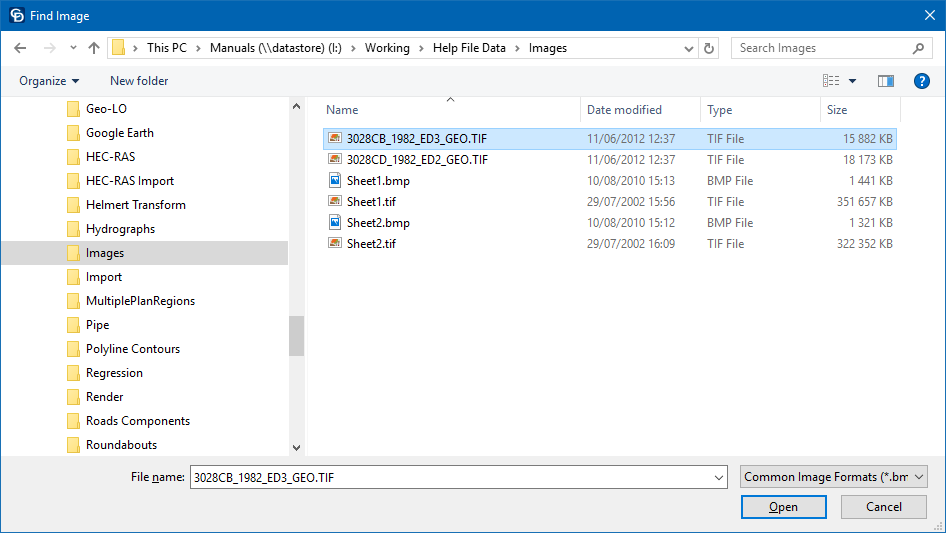
If the image is geo-referenced and the drawing is a survey drawing, the image will be placed and scaled according to the geo-reference file.
If the image is not geo-referenced, you can rotate or scale it as required when the following prompt is displayed:

This function allows you to export part of a large image in your drawing to a TIF image file, with a corresponding "world file".
This is useful when you want to send part of your drawing for review without the large image, which may be many gigabytes.
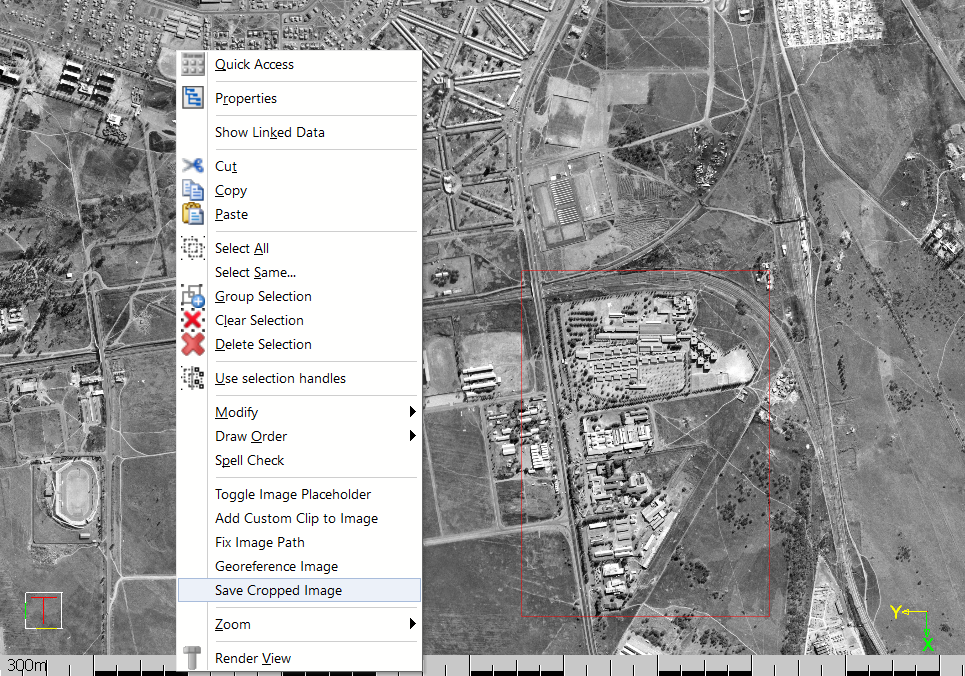
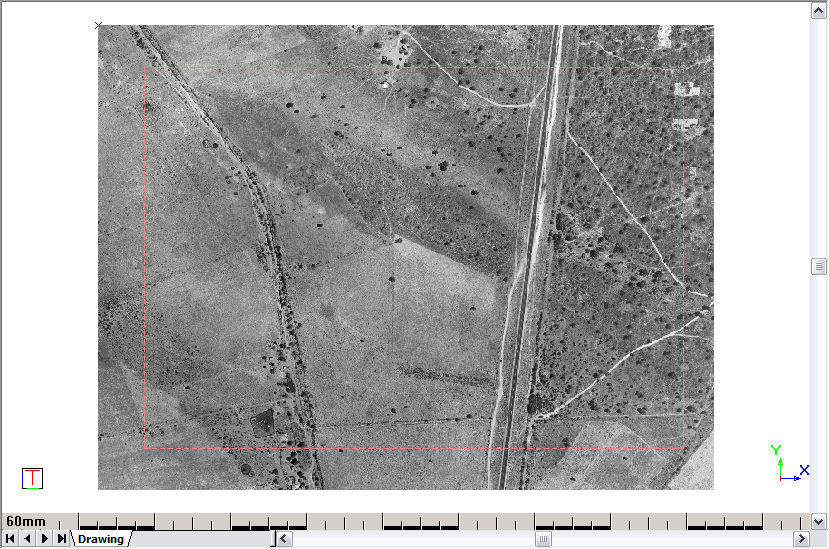
You will be prompted to indicate the top left of the rectangle you want to crop out of the selected image.
Click on the selected image to indicate the top-left crop point. In this example, you click on the top-left of the red rectangle.
You will be prompted to indicate the bottom right of the rectangle you want to crop out of the selected image.
Click on the selected image to indicate the bottom-right crop point. In this example you click on the bottom-right of the rectangle.
The File Save dialog will appear so that you can specify a file path and file name for the exported image.
Browse to the destination folder that you want to place the file in, type in a name for the exported image and click Save.
The exported image will
be slightly larger than the crop rectangle you indicated, as it is composed
of uncropped image tiles that overlap, or are included in the crop rectangle.
The cropped image you saved may be used to replace the original image, or inserted into another drawing. If the drawing uses survey coordinates, the image will automatically be positioned at the correct coordinates according to the world file.
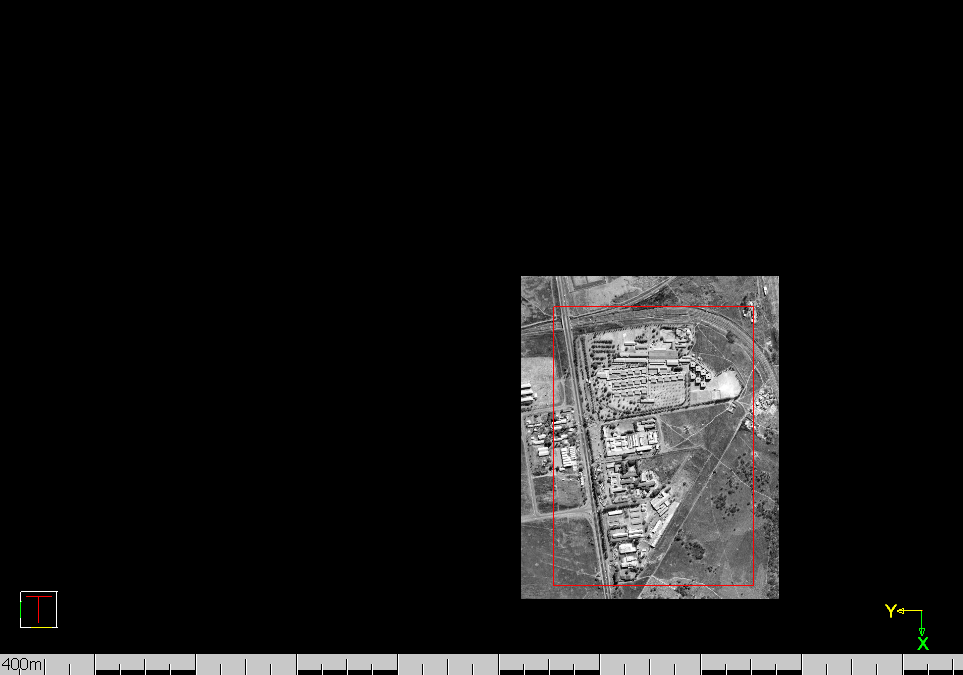
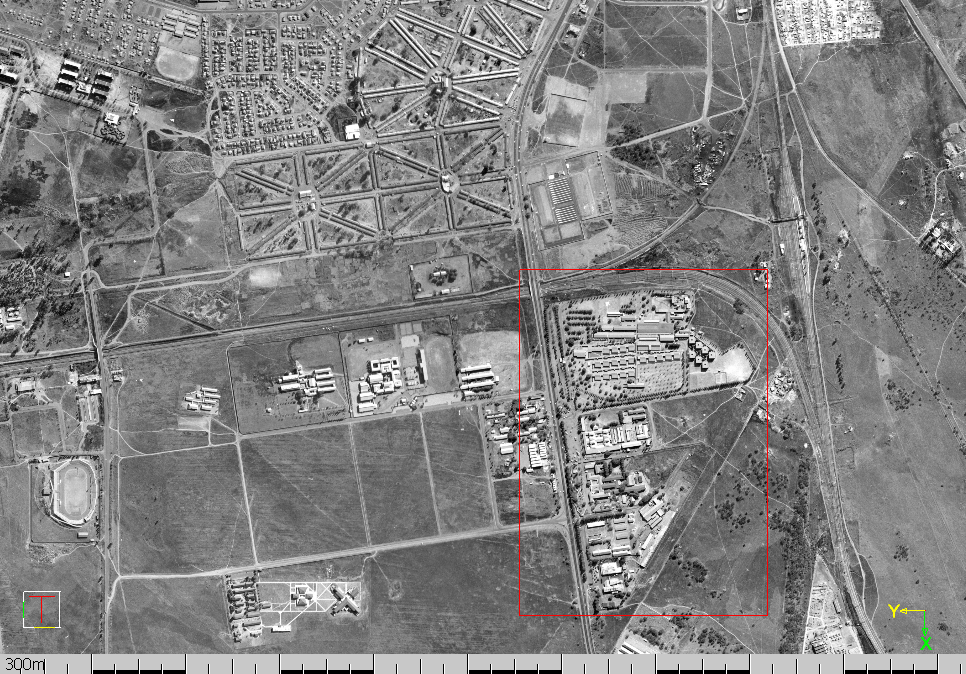
In the example below, the original image has been deleted and the exported cropped image has been inserted into the drawing.