Icon
Command
Shortcut Key
Toolbar

COORDTABLE
Dimensions
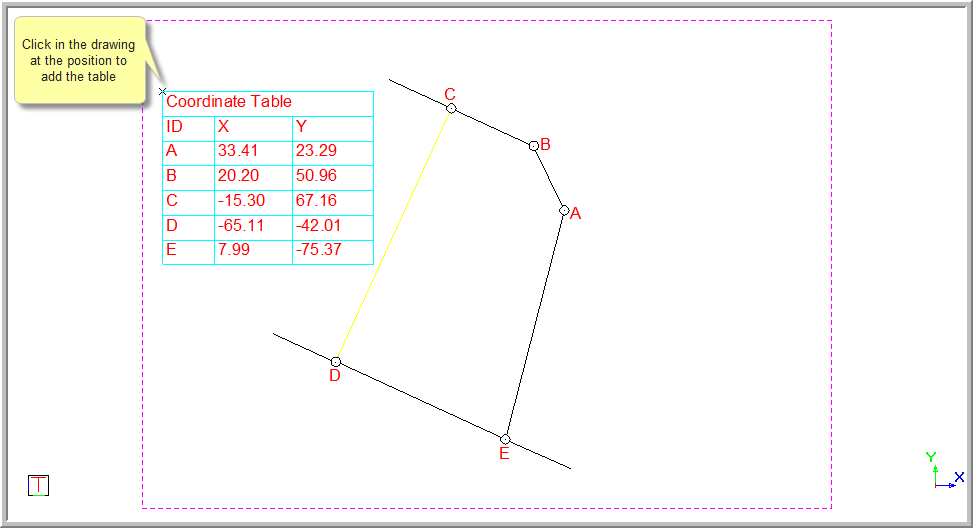
Add a list of coordinates in table form to the drawing with the option of labelling and adding the coordinates to the points.
Icon |
Command |
Shortcut Key |
Toolbar |
|
COORDTABLE |
|
Dimensions |
This function allows you to view the Coordinate Table Setup where you can indicate the points to be included in the table.
The generated table is drawn using the current table style, which can be set in the Table Style option.
 Be sure to set
the desired table style
before starting this function. The table can be edited after placing it
in the drawing by selecting it and clicking Edit
Table in the Properties Bar. The coordinate values are right justified
regardless of the table style setting so the coordinates line up correctly.
Be sure to set
the desired table style
before starting this function. The table can be edited after placing it
in the drawing by selecting it and clicking Edit
Table in the Properties Bar. The coordinate values are right justified
regardless of the table style setting so the coordinates line up correctly.
Procedure
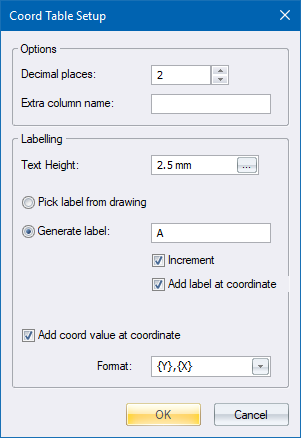
Set the options you require and click OK.
Indicate point to add to table (right click to finish)
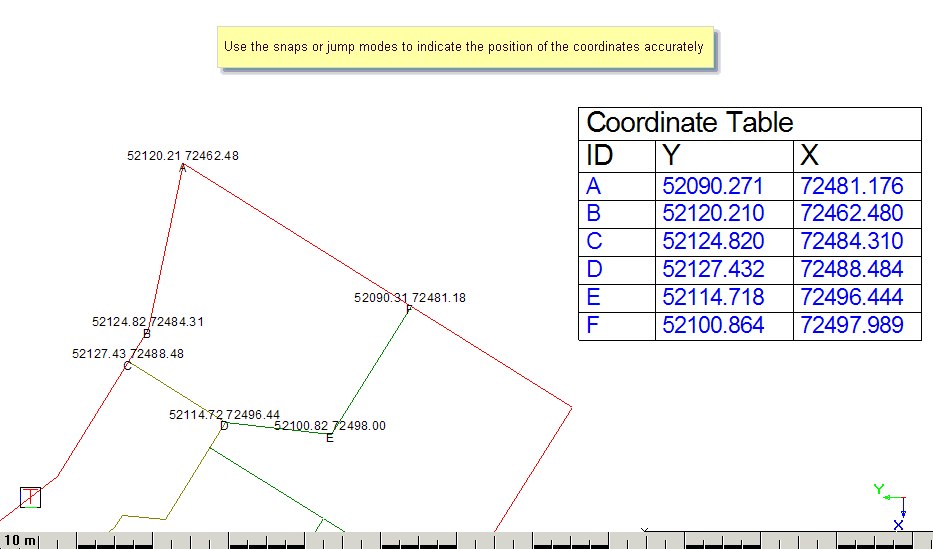
If you have checked the Add label to coordinate option, you see a text label appear in the drawing at the point indicated.
If you have checked the Add coord value at coordinate option, you see text with the coordinate values appear at the indicated points.
Once you have finished adding points, right-click in the drawing area and select Finish.
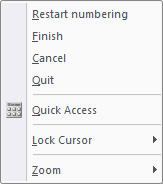
If you select Cancel, all the previously indicated points will be deleted and you will be able to re-enter new points.
If you select Quit, the function ends.
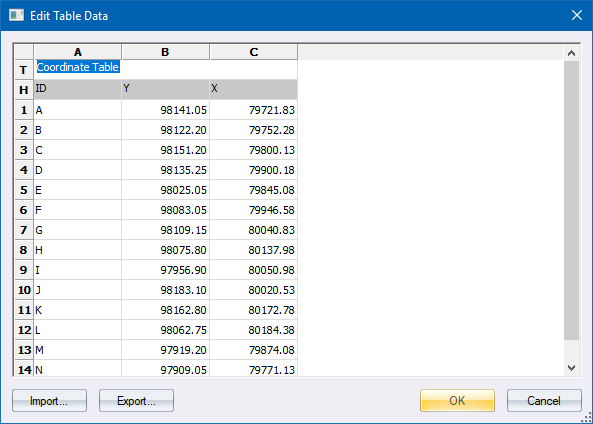
Once the table is correct, click OK to insert the table into the drawing; or Cancel to return to adding points to the table.
Indicate table position
The table is shown and you can move it into position. Click in the drawing to place the table.
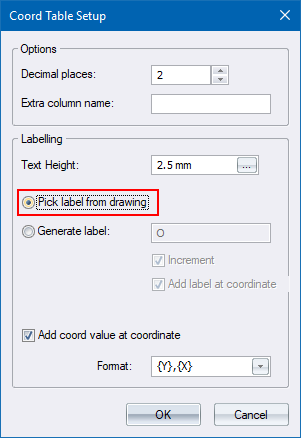
Indicate point to add to table (right click to finish)
Indicate the point by clicking on it.
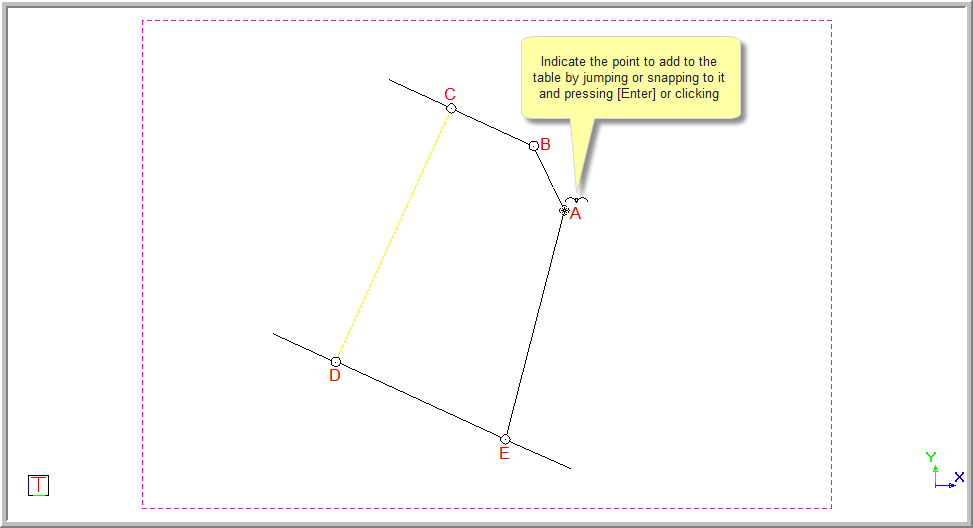
You are prompted to:
Indicate text label
Click on the label you want associated to the coordinates.
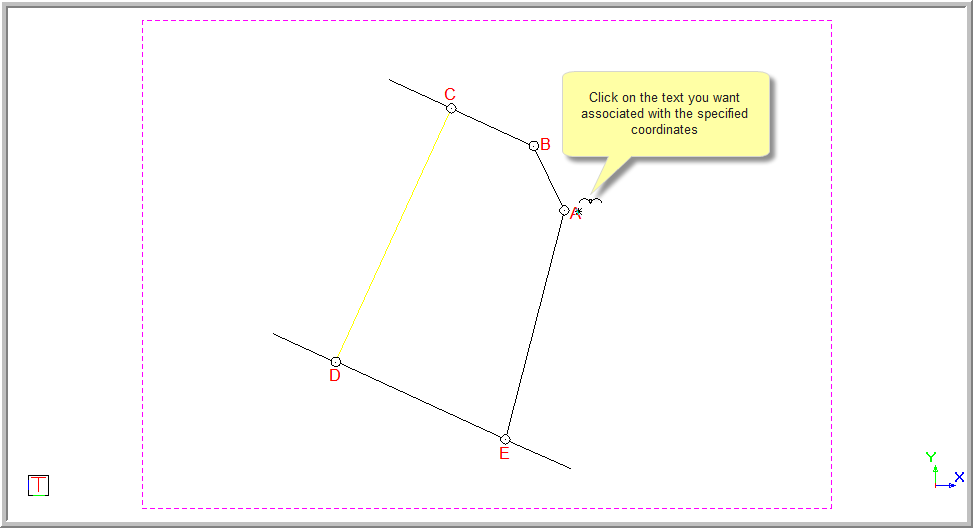
You are again prompted to:
Indicate point to add to table (right click to finish)
Continue to add the points and text labels as required.
Right-click on the drawing area and select Finish.
The Edit Table Data dialog is displayed, listing the label ID and coordinates of the points and text labels you have indicated.
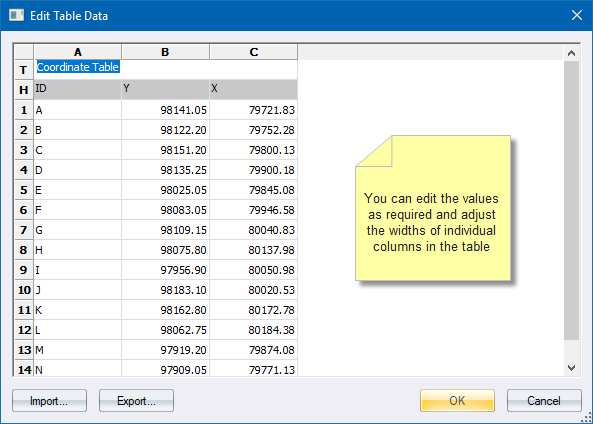
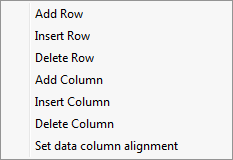
Once the table is correct, click OK to insert the table into the drawing; or click Cancel to return to adding points to the table.
Indicate table position