Icon
Command
Shortcut Key
Toolbar

SNIP
Modify
Snip out part of the valid entities in the drawing that lie inside or outside an indicated snip region.
|
Icon |
Command |
Shortcut Key |
Toolbar |
|
|
SNIP |
|
Modify |
This function allows you to snip out part of the entity or entities using a box, cylinder or polygon shape.
You can remove the entities on the inside or outside of the snip area and also select to insert the snip box into the drawing.
You can snip arc, circle, ellipse, line, leader/arrow, lightweight polyline, polylines, multiline, spline, hatch, solid, face and polygon mesh entities. Any entity that crosses the snip boundary may be converted to a different (simpler) entity type.
Procedure

Select the Snip entities inside snip region checkbox if you want to remove the elements on the inside of the selection area. If not, the elements on the outside of the box will be removed.

If you select the Draw snip region checkbox, the indicated snip area will be drawn in.

Specify the Snip Shape by selecting the appropriate radio button:
Box
Cylinder
Prism
Existing polygon
Select the Box snip option, the Snip entities inside snip region and Draw snip region options.

Position the cursor at the first corner, and then press [Enter] or click to indicate the point. Use the snaps or jump functions to indicate the position accurately.
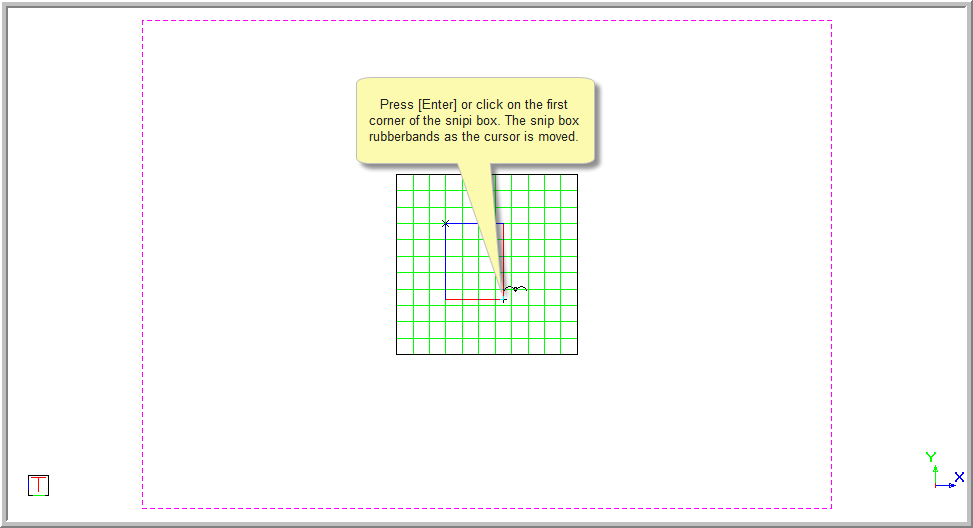
The snip box rubberbands and you are prompted to:

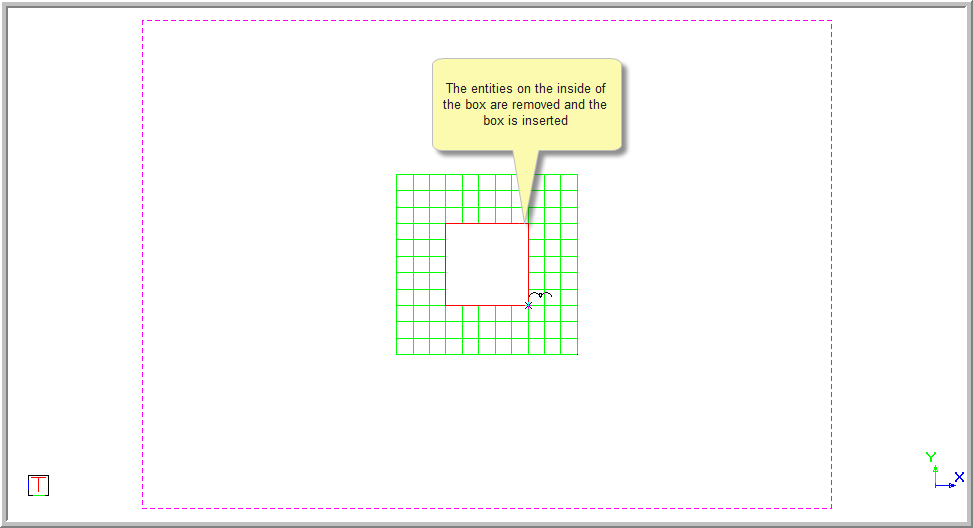
Position the cursor at the second corner, and then press [Enter] or click to indicate the position. The entities on the inside of the selected area are removed and the snip box is inserted.
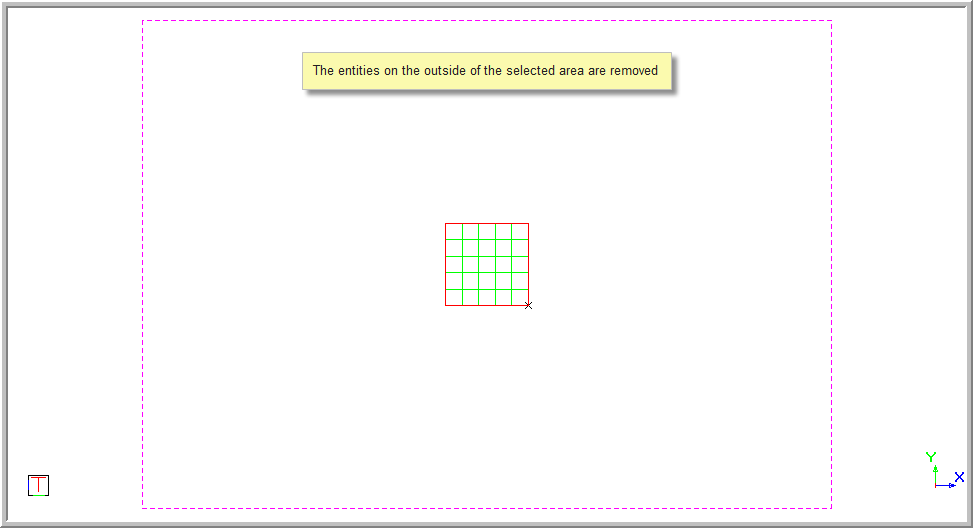
If the Snip entities inside snip region option was not selected, the entities on the inside of the box remain and the entities outside are removed.

If the Draw snip region is not selected, the outline of the snip area is not inserted.

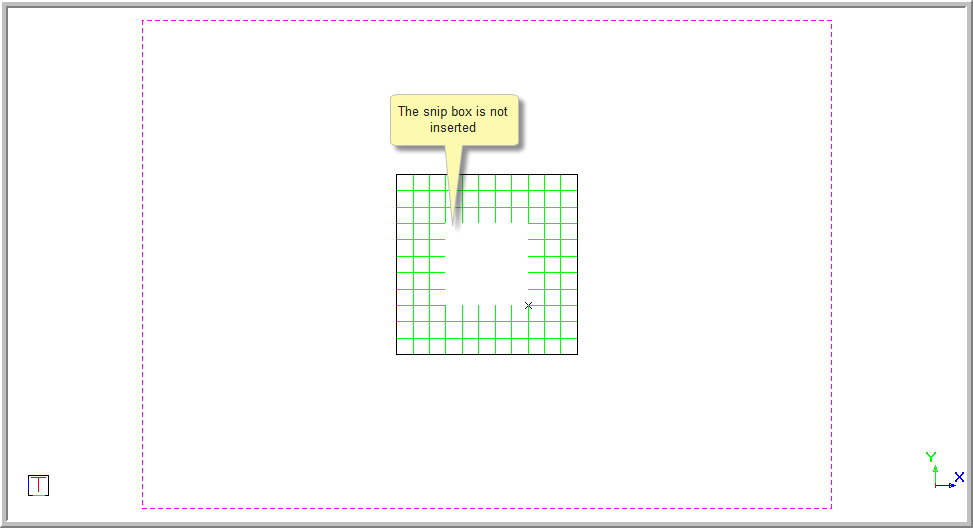
The example below shows the snip with the snip box not inserted.
You are prompted to:

Use the snaps or jump functions to indicate the centre point accurately, and then press [Enter] or click to select the position.
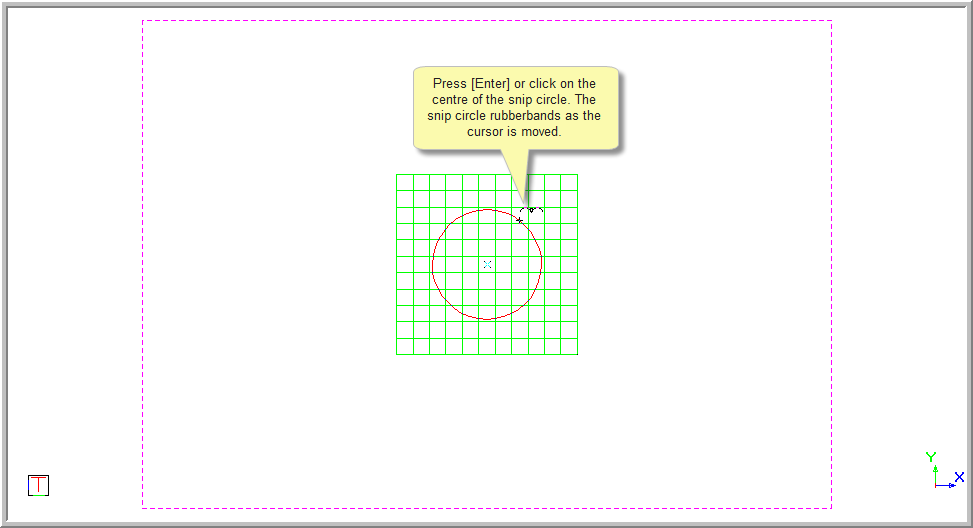
The snip circle rubberbands and you are prompted to:

Position the cursor on a point on the radius, and then press [Enter] or click to indicate the position.
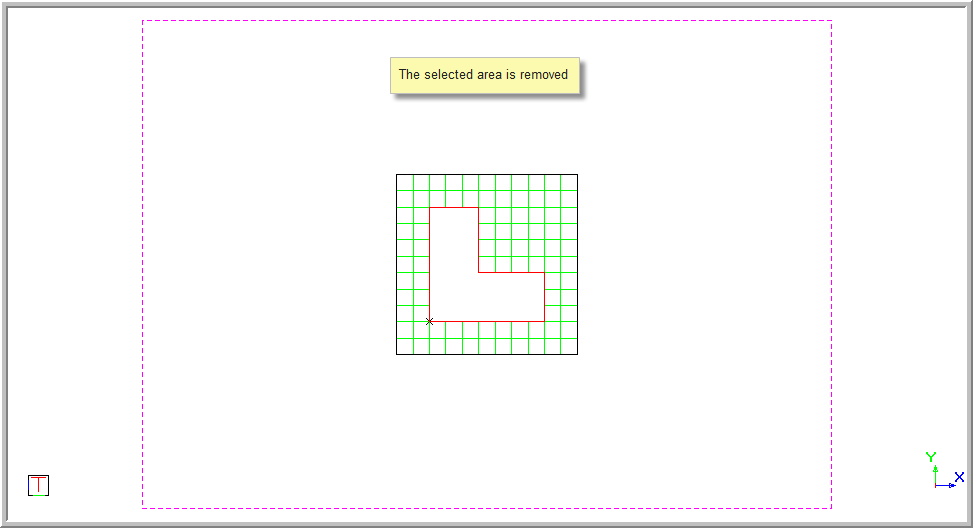
The selected area is removed.
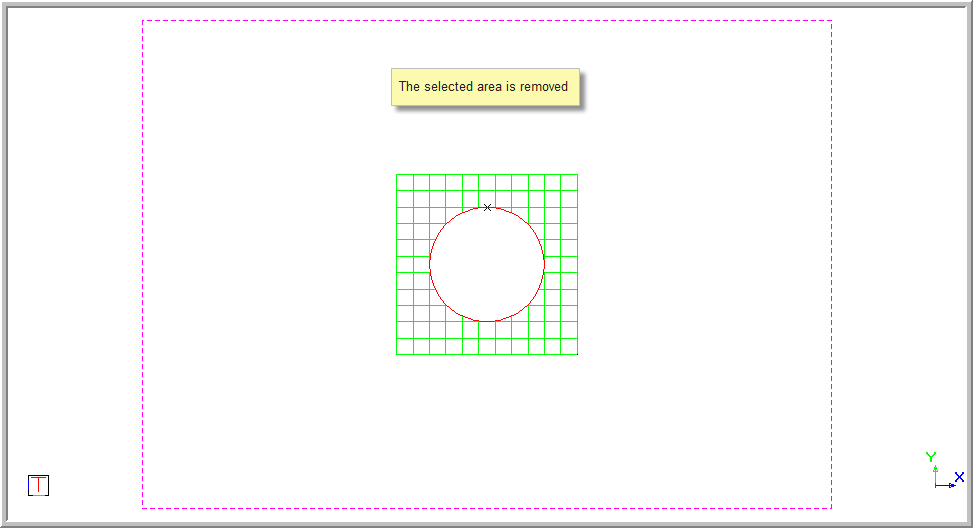
You can remove the entities outside the selection area by not selecting the Snip entities inside snip region checkbox.

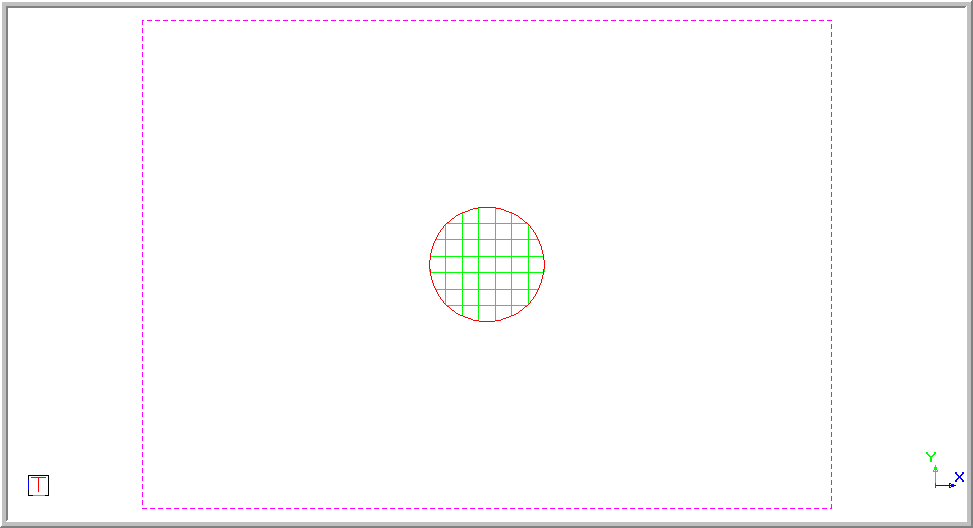
You are prompted to:

Use the snaps or jump functions to indicate the position accurately, and then press [Enter] or click to select the position. A snip line rubberbands.
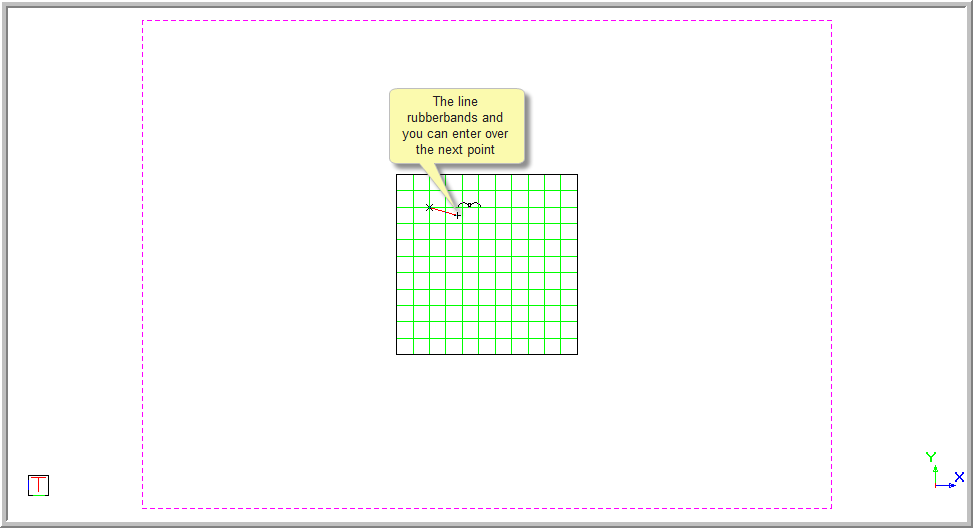
You are prompted to:

Position the cursor on the next point, and then press [Enter] or click to indicate the position. The lines continue to rubberband and you can continue to add points as required.
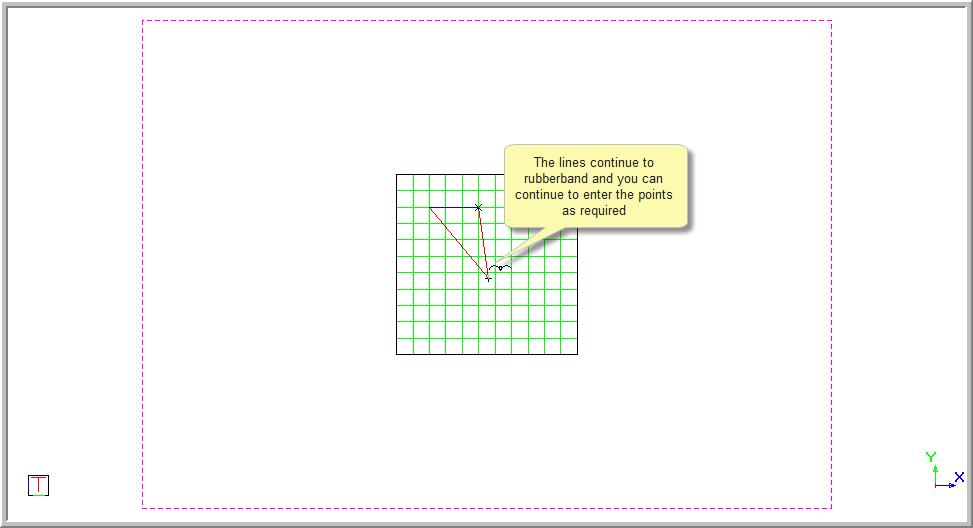
Indicate all the required points for the snip.
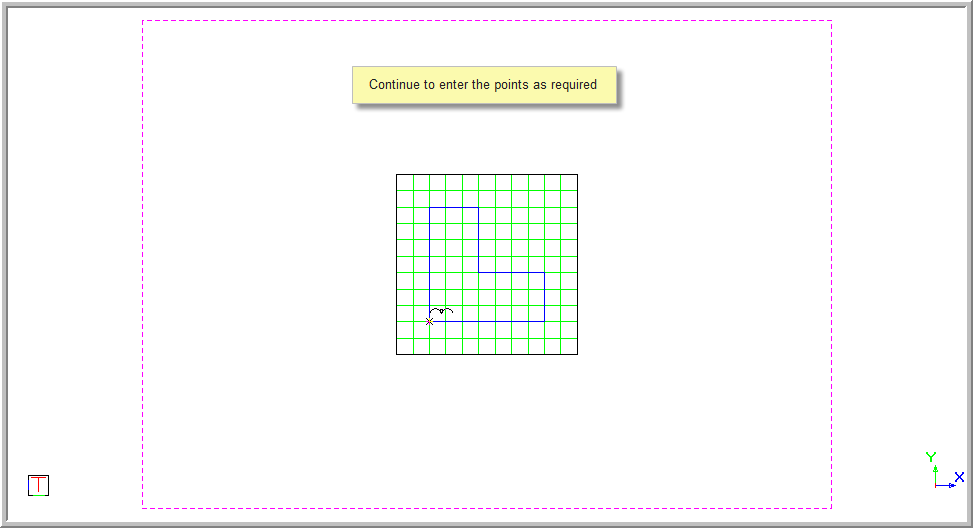
Right-click once you have finished selecting the area and select Finish to remove the selection. The selected snip area is removed.
Alternatively, select Cancel to end the selection and start selecting again.

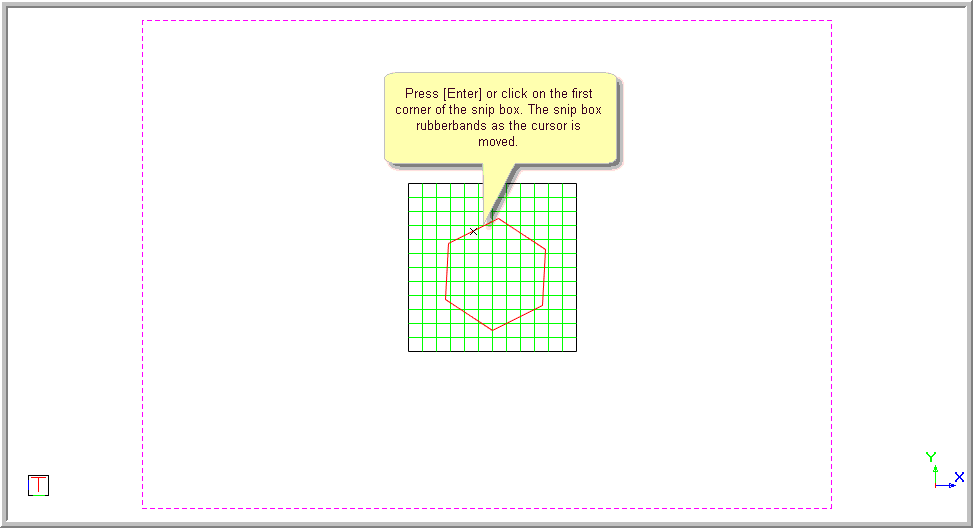
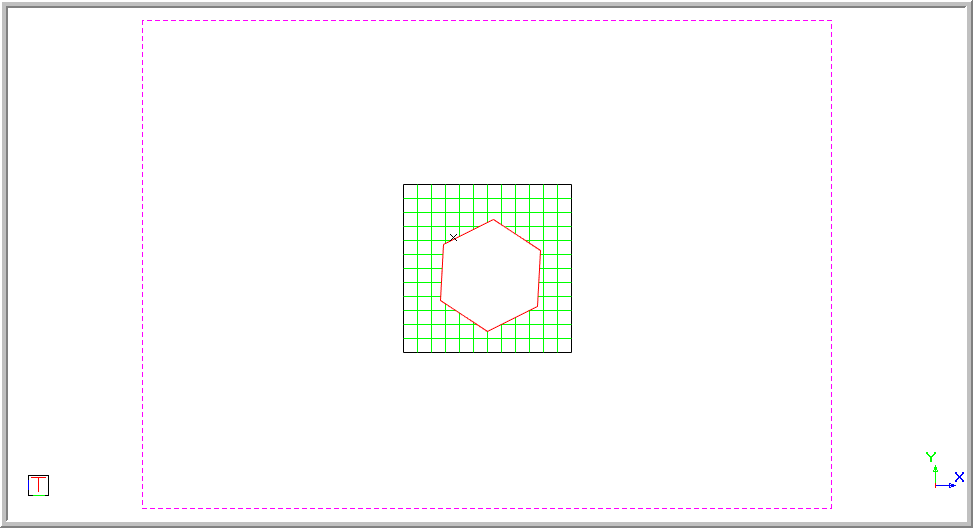
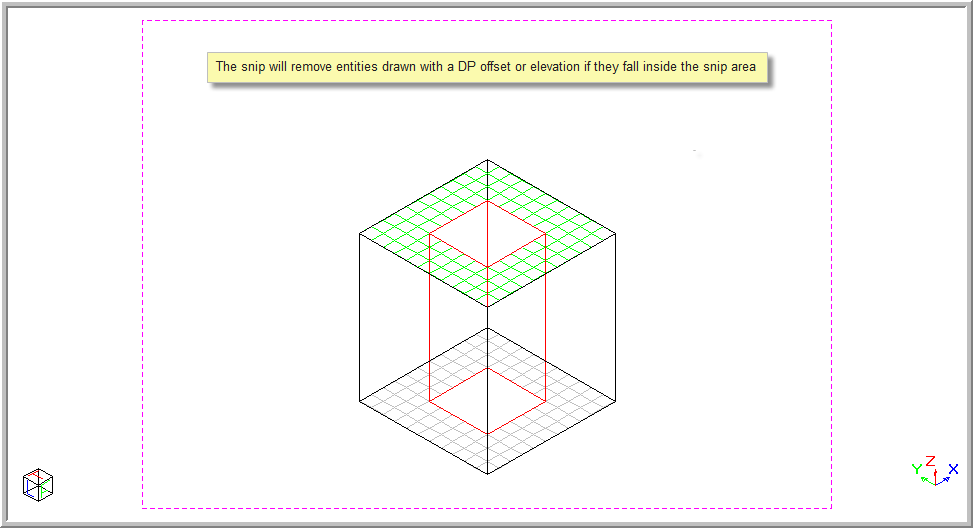
When snipping in the Isometric view, the function works the same.
The snip will have a "depth" if multiple entities at different elevations are snipped. The direction of the snip "depth" will depend on the current Drawing Plane.