Icon
Command
Shortcut Key
Toolbar

GEOMSLINE
Geometry
Draw a geometry line through a point at a specified angle relative to the drawing plane or relative to a geometry line.
|
Icon |
Command |
Shortcut Key |
Toolbar |
|
|
GEOMSLINE |
|
Geometry |
This function allows you to draw a sloped geometry line whose angle is relative to either:
The horizontal of the current drawing plane.
The "angle base" as specified in Angular Settings under Drawing Settings.
A line or geometry line.
All angles specified are in an anti-clockwise direction, unless you are drawing relative to angle base and the current angular settings specify a clockwise direction.
 Geometry lines are infinite lines that never print or plot, and are seen in all layers. To change the appearance of all geometry, see Geometry Settings under System Settings.
Procedure
To draw a slope geometry line:
Select Geometry ► Lines ► Slope Line or click the icon in the Geometry toolbar.

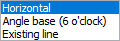
To draw a sloped geometry line at a specific angle relative to the horizontal:
Select Horizontal from the Relative to dropdown.
Specify the angle in the bar by clicking in the angle input box, or pressing [Tab] to move the cursor to the angle input box, and then typing in the required angle.
Click ... and specify the angle format you require.
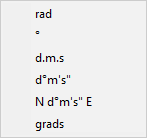
Press [Enter] or click Enter  .
.
The sloped geometry line displays:
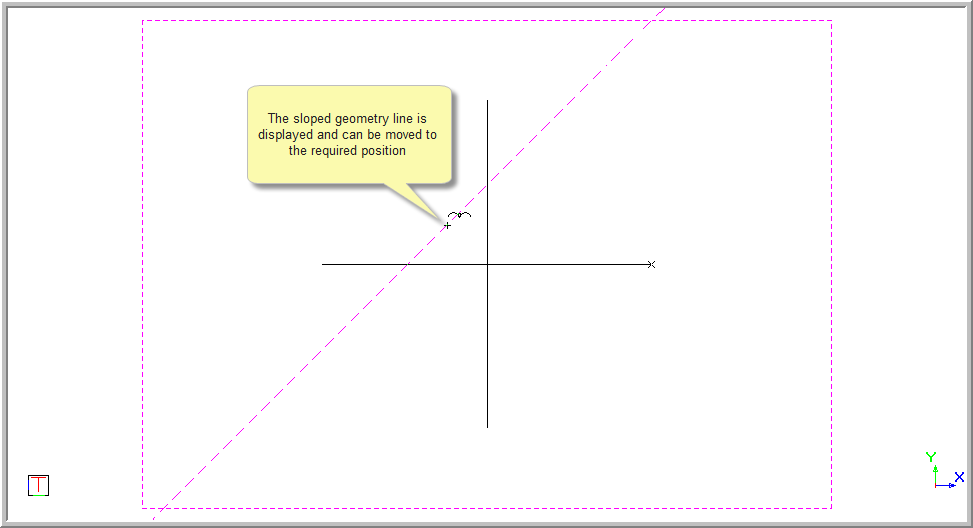
Click in the drawing to indicate a point through which the geometry line will run. Use the snaps and jumps to insert the sloped line accurately.
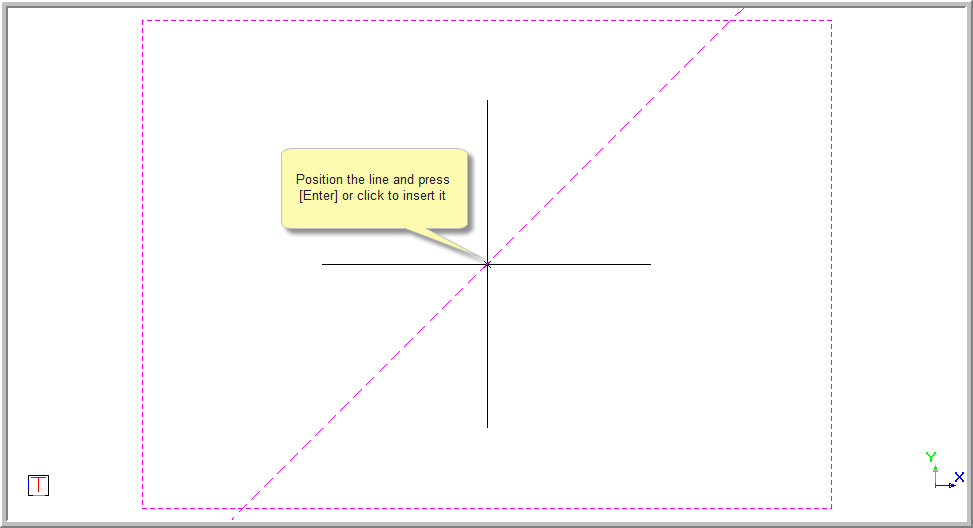
To draw a sloped geometry line at a specific angle relative to the current angle base settings:
Select Angle base from the Relative dropdown list.
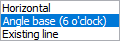
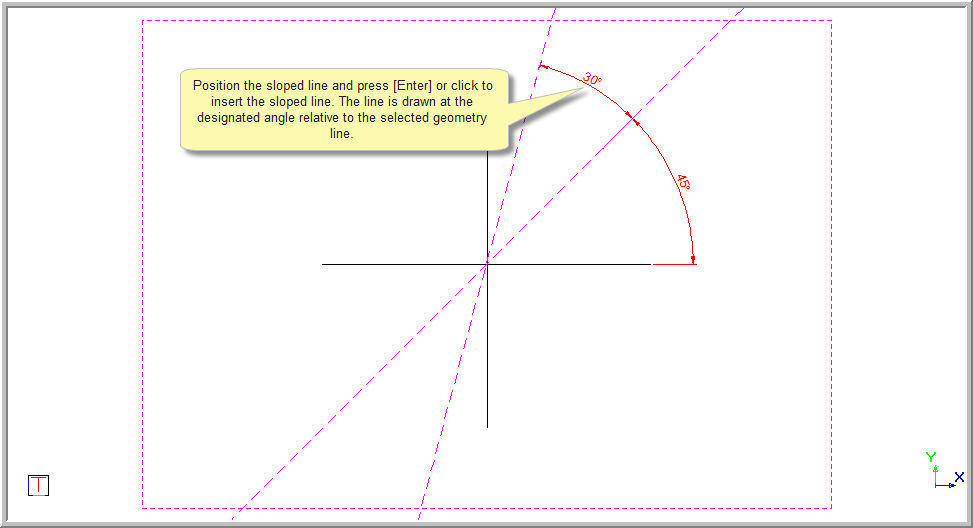
To draw a geometry line at a slope relative to an existing line or geometry line:
Select Existing Line from the Relative dropdown list.

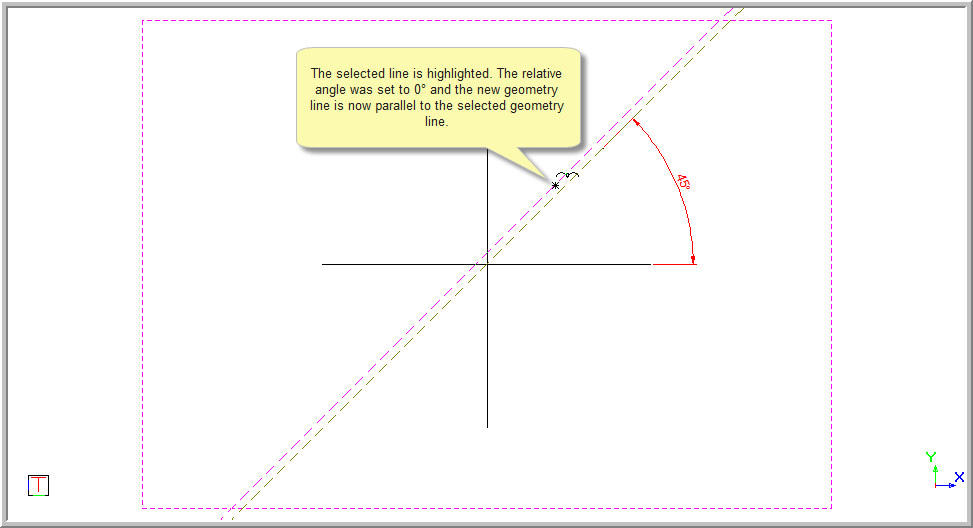
You are prompted to:

Specify the angle in the bar by clicking in the angle input area, or pressing [Tab] to move the cursor into the angle input area, and then typing in the required angle.
Click ... to specify the angle format you require.
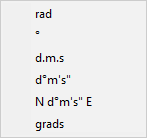
Press [Enter] or click Enter .
The sloped geometry line displays.
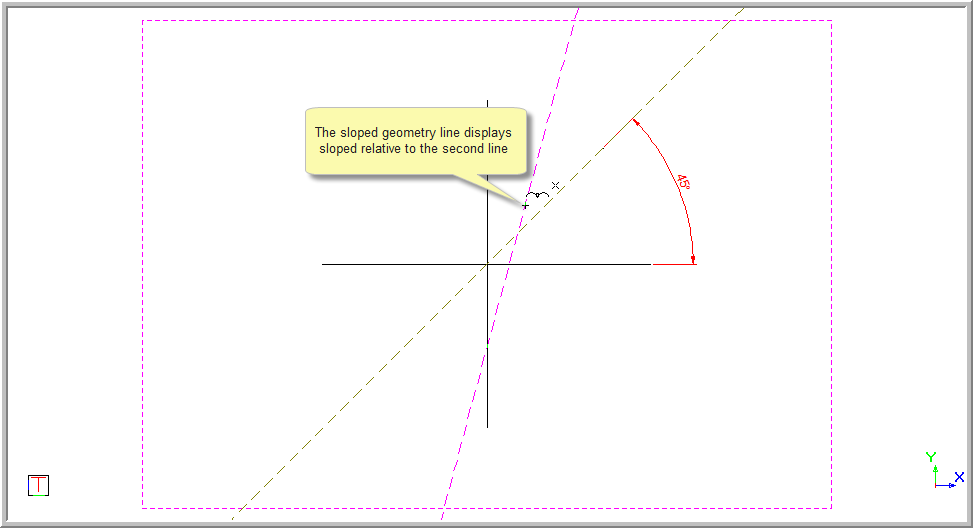
Position the cursor at a point in the drawing and press [Enter] or click to indicate the through point. Use the snaps and jumps to insert the sloped line accurately. The sloped line angle is relative to the selected line.