 Mesh entities are always drawn with CONTINUOUS line type.
Draw a polygon mesh by sweeping an existing profile entity along an existing path entity.
|
Icon |
Command |
Shortcut Key |
Toolbar |
|
|
MESHSWEPTSURF |
|
3D Shapes |
This function allows you to draw a polygon mesh by sweeping an existing curve entity (the profile) along a path indicated by another existing curve entity, thereby creating a mesh.
The profile curve is the shape that you extrude along a path.
The path curve is the centre line you extrude the shape along.
Mesh entities are always drawn with CONTINUOUS line type.
Procedure

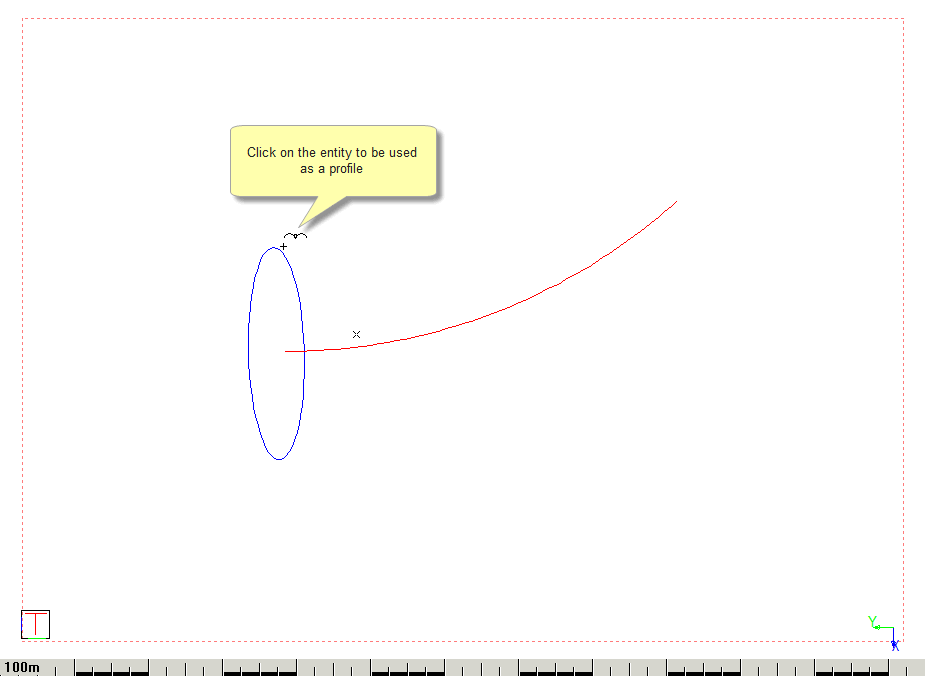
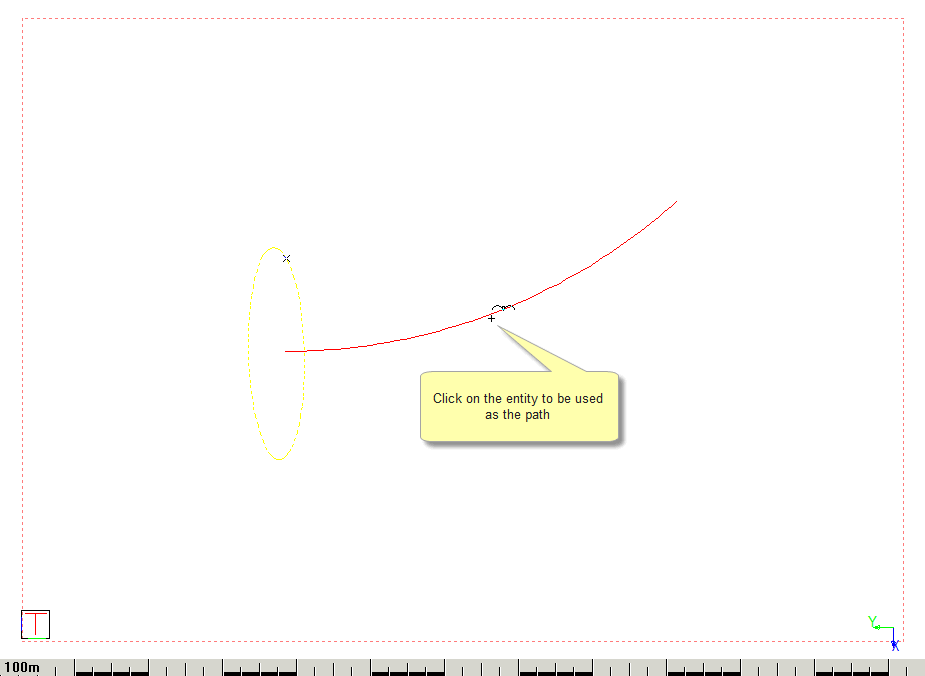
Click on any suitable entity in the drawing. Some entities, such as polygon mesh entities, cannot be used as a profile curve.

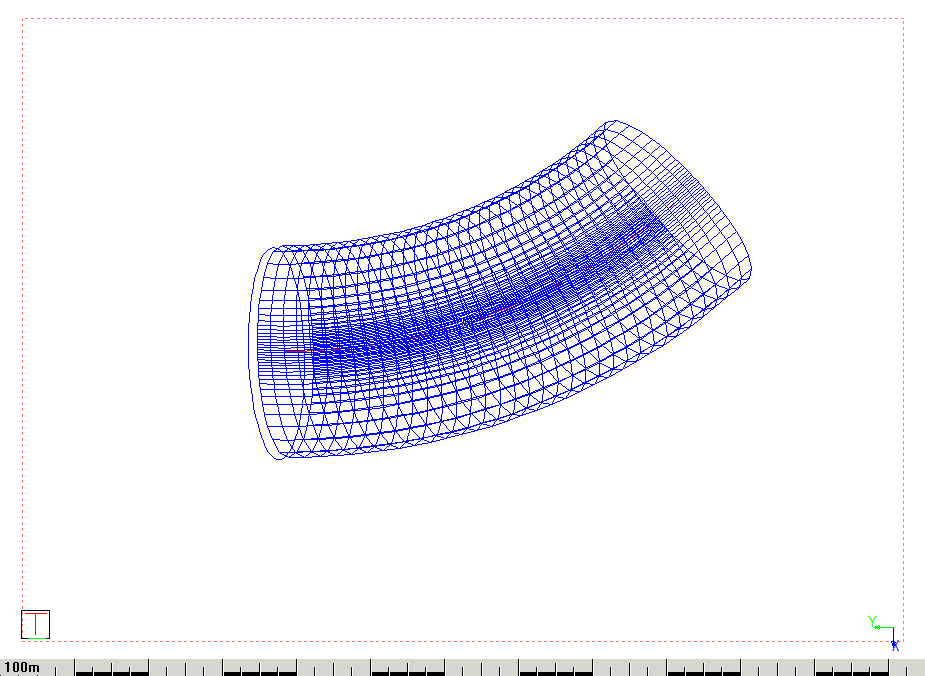
You can configure the following settings for the swept surface in the Control Bar.
This specifies the scaling of the profile at the start of the path and at the end of the path respectively, allowing you to generate a swept surface that reduces or increases in size towards the end of the mesh.
For example, specifying an end scale of 0.5 has the following result.

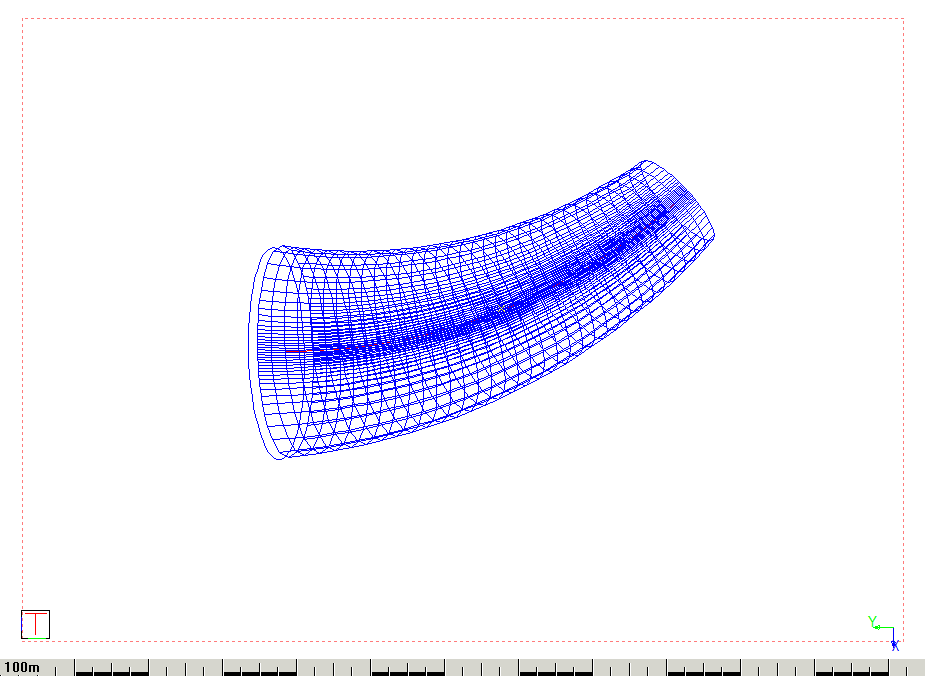
This specifies the rotation of the profile around the path at the far end of the generated mesh.
For example, specifying a twist angle of 45 degrees has the following result.

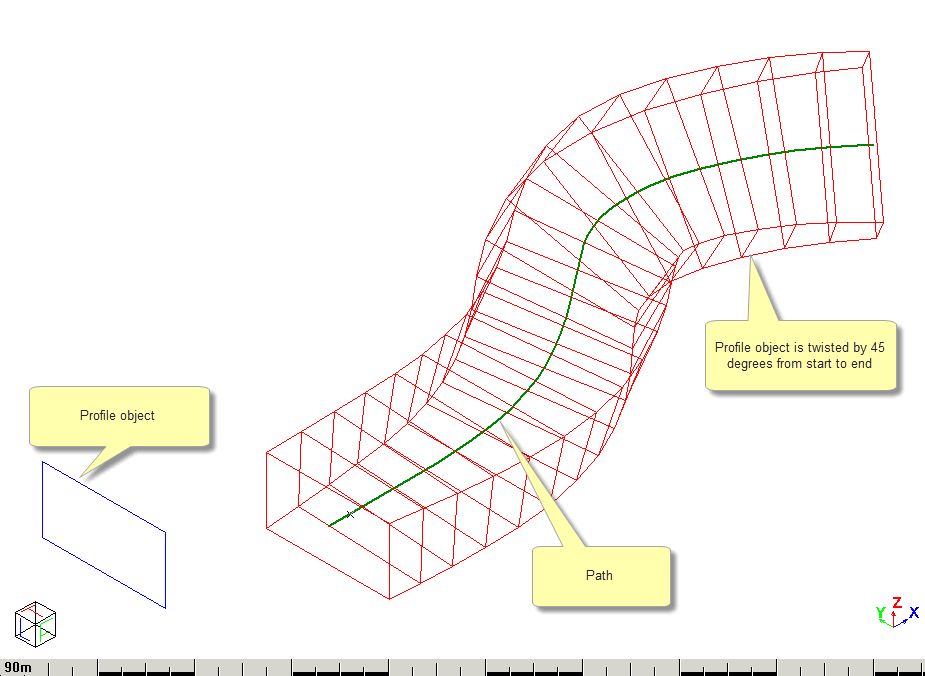
This specifies the number of mesh segments you want in the sweep direction of the mesh.
For example, specifying 10 segments has the following result.

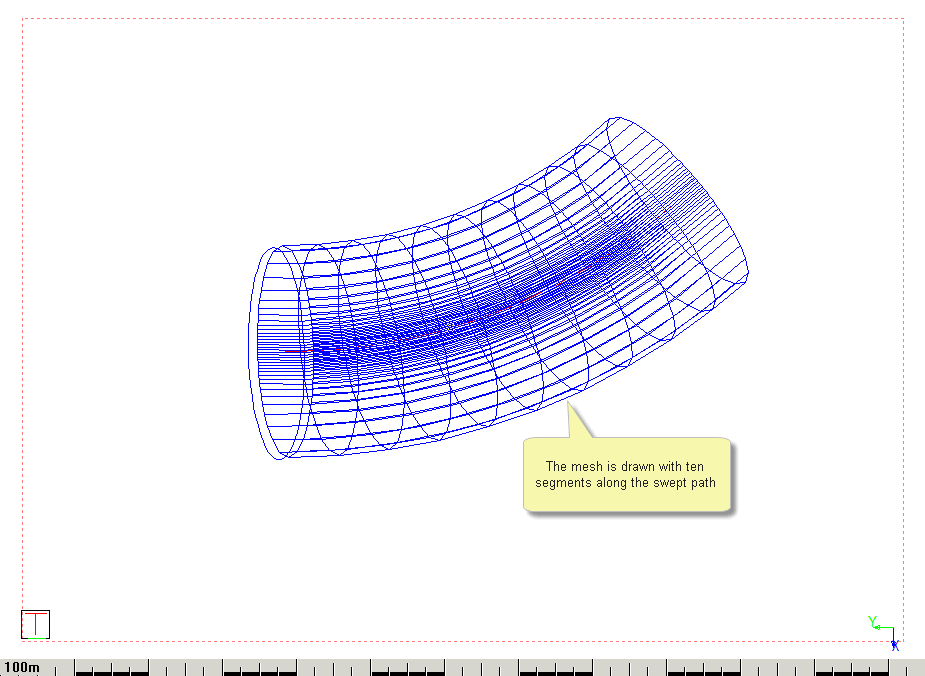
The number of mesh segments along the profile axis of the mesh is automatically determined from the profile curve.