Select Turn ► Setup,
or click the Setup icon  on the Turn toolbar. The Turn Setup window displays.
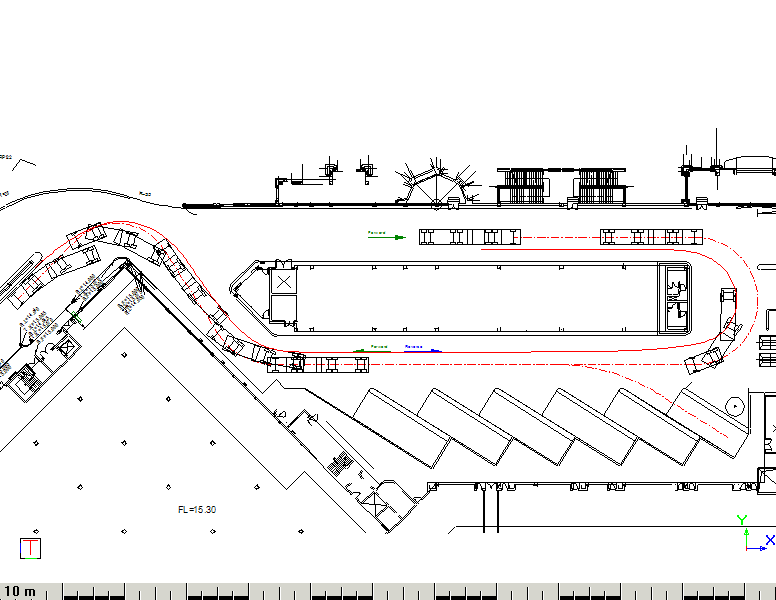
This function allows you to simulate a vehicle with a cargo that extends beyond the body of the vehicle. The cargo’s limits can be specified, and are tracked when running the next simulation.
In this tutorial you will learn how to:
Edit the Setup.
Specify the cargo limits.
Turn the cargo limits.
Select Turn ► Setup,
or click the Setup icon
on the Turn toolbar. The Turn Setup window displays.
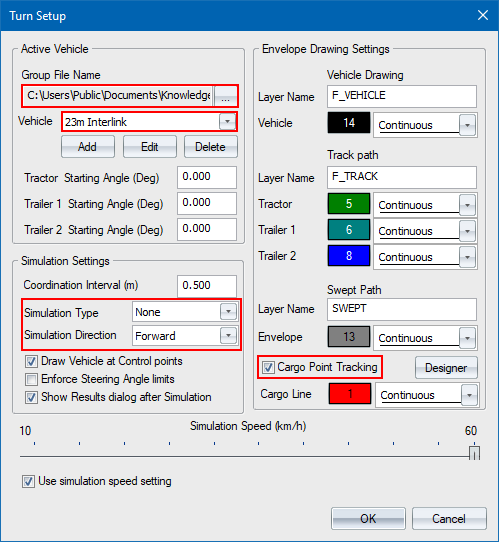
Make sure the "Custom Vehicles.vcl" file is open and the active vehicle is the 23m Interlink.
Select the Cargo Point Tracking checkbox in the Drawing Envelope Settings group.
Specify a pen colour for the Cargo Line.
 Cargo tracking
can also be done in conjunction with any simulation type (i.e. Track Path,
or Swept Path).
Cargo tracking
can also be done in conjunction with any simulation type (i.e. Track Path,
or Swept Path).
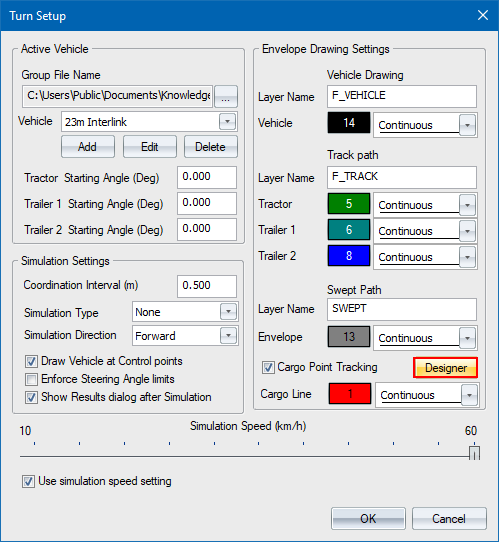
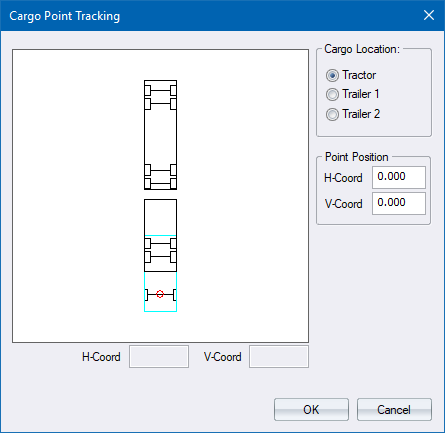
The cargo that you simulate is situated on the first trailer, and extends 1.5 m beyond the front axle of the tractor.
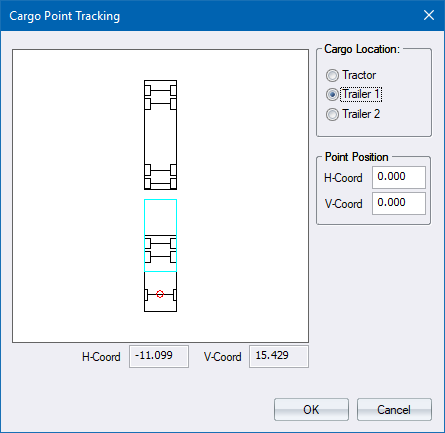
The first trailer is highlighted in a cyan pen.
Enter the H-Coord as “1.2”, which indicates that the cargo is situated on the right hand side of the trailer.
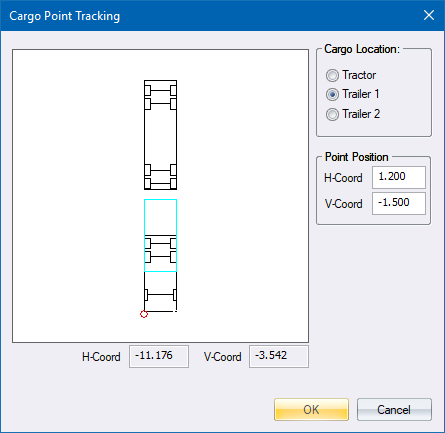
You can also indicate the cargo position using your mouse, as well as jumping to the nearest point by pressing [J].
A red circle indicates the cargo position.
Define the correct track path as in Tutorial 2.
 on the Turn
toolbar.
on the Turn
toolbar.